 Save to Pinterest
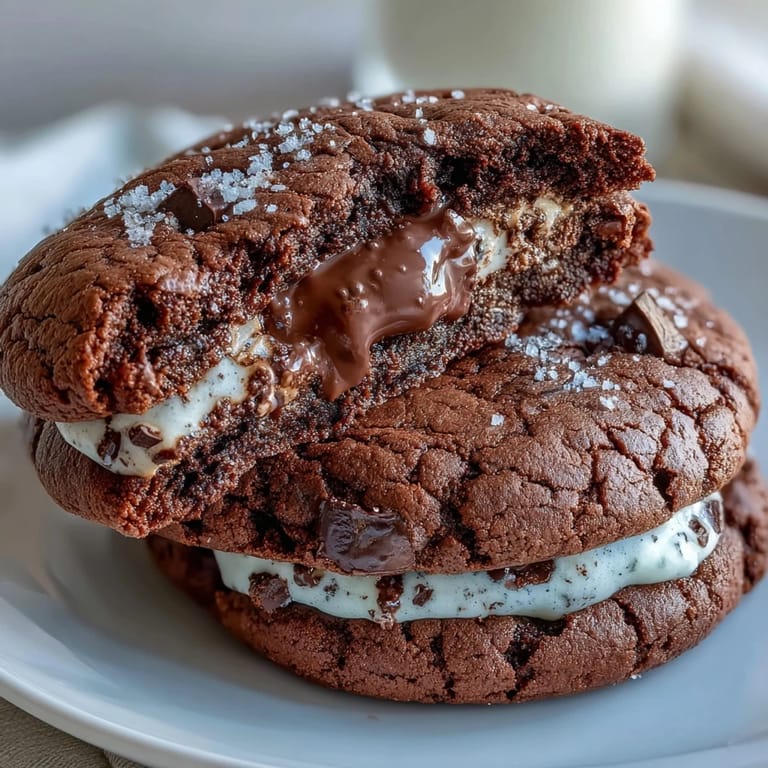
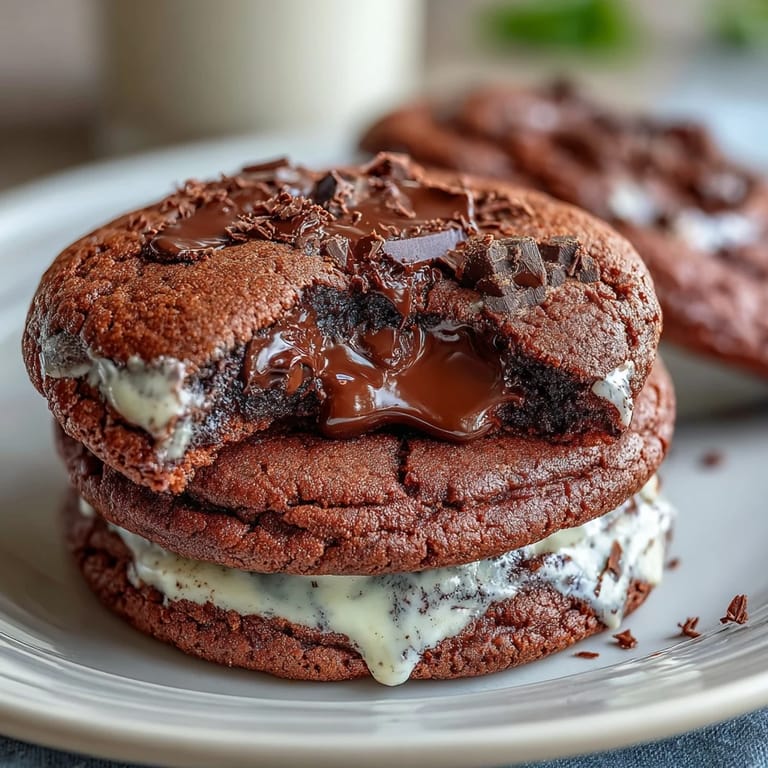
 My coworker brought these dark chocolate cookies to the office one Tuesday, and I watched three people stop mid-conversation just to ask for the recipe. There's something about the way dark cocoa plays against vanilla and milk chocolate that makes you want to keep eating even when you know you should stop. The cookies were still warm when I got one, and that's when I understood the real magic—they're chewy in the center, with edges that have just the slightest crisp, like they were pulled from the oven at exactly the right moment. I went home that night determined to recreate them, and after a few batches, I finally figured out the balance that made them taste like a memory of something luxurious you can't quite name.
I made these for a quiet Saturday at home, just me and my partner on the couch with the kitchen smelling like toasted cocoa and caramel. We didn't talk much while eating them, which honestly said everything. Later that week, I brought a batch to my neighbor who'd been having a rough time, and she cried a little when she bit into one—not because of the cookie itself, but because someone had thought to show up with something warm and made by hand. That's when these cookies stopped being just a dessert and became something that felt important.
Ingredients
- All-purpose flour (1 3/4 cups): The structure that holds everything together without making these dense or tough—measure by weight if you can because it really does make a difference.
- Dutch-process cocoa powder (1/2 cup): This is the secret to that rich, almost mysterious dark flavor that makes people pause and ask what's in these cookies.
- Baking soda (1 tsp): Creates lift and helps with that perfect soft-center texture, but don't skip the salt because it balances the cocoa's bitterness.
- Fine sea salt (1/2 tsp): Brings out the chocolate flavor in a way that's almost impossible to explain until you taste the difference.
- Unsalted butter (3/4 cup), softened: Must be room temperature or your dough will be either greasy or clumpy—give it time to sit on the counter.
- Dark brown sugar (1 cup) and granulated sugar (1/2 cup): The brown sugar gives moisture and depth while the white sugar helps them spread just enough to get those crispy edges.
- Large eggs (2), room temperature: Cold eggs make everything harder to mix together, so take them out of the fridge while you prep the dry ingredients.
- Pure vanilla extract (2 tsp): The backbone of the flavor profile, and it genuinely needs to be pure vanilla, not the imitation stuff.
- Almond extract (1/2 tsp, optional): A small amount adds a whisper of complexity that makes people wonder what they're tasting.
- Dark chocolate chunks or chips (1 1/4 cups, 70% cocoa): The higher cocoa content prevents the cookies from tasting one-dimensional and sweet, giving them that grown-up edge.
- Whole milk (1/2 cup): This is unusual in cookies, but it creates moisture and that subtle vanilla milk swirl effect when mixed with white chocolate.
- White chocolate chips (1/2 cup): These aren't just for looks—they melt slightly into the dough and create pockets of sweetness that contrast beautifully with the dark cocoa.
Tired of Takeout? 🥡
Get 10 meals you can make faster than delivery arrives. Seriously.
One email. No spam. Unsubscribe anytime.
Instructions
- Get Your Mise en Place Ready:
- Line your baking sheets with parchment paper and preheat your oven to 350°F while you gather everything—this takes the stress out of the actual baking moment. Room temperature eggs and softened butter make a real difference, so don't skip this step even though it feels like the boring part.
- Mix the Dry Ingredients:
- In a medium bowl, whisk the flour, Dutch-process cocoa, baking soda, and salt together until they're evenly combined and there are no cocoa lumps hiding in the corners. Set this mixture aside and try not to touch it yet.
- Cream the Butter and Sugars:
- Beat your softened butter with the brown and granulated sugars for about 2 to 3 minutes until the mixture looks light, fluffy, and noticeably lighter in color than when you started. This step aerates the dough and is worth the time it takes.
- Incorporate the Eggs and Extracts:
- Add your eggs one at a time, beating well after each addition so the mixture stays emulsified and silky. Once they're in, add your vanilla and almond extracts and mix until everything is combined smoothly.
- Alternate the Dry Ingredients and Milk:
- With your mixer on low speed, add about half the dry mixture, then half the milk, then the remaining dry mixture, and finish with any remaining milk—this prevents overmixing and keeps the dough from becoming tough. Stir just until everything comes together and you don't see streaks of flour anymore.
- Add the Chocolate:
- Gently fold in your dark chocolate chunks and white chocolate chips with a spatula rather than the mixer, so you don't break them up or develop the gluten too much. You want visible pieces of chocolate in every bite, not chocolate dust.
- Scoop and Chill (Optional but Helpful):
- Use a cookie scoop or a large spoon to portion out about 2 tablespoons of dough per cookie, spacing them 2 inches apart on your prepared sheets. If you have time, refrigerate the scooped dough for 15 minutes—it helps them keep their shape and become even chewier.
- Bake Until They're Barely Done:
- Bake for 11 to 13 minutes, watching for the moment when the edges look set but the centers still look slightly soft and puffy like little clouds. This is the hardest part because they'll look underbaked, but that's exactly when you pull them out.
- Cool with Patience:
- Leave the cookies on the baking sheet for 5 minutes so they set up just enough to move, then transfer them to a wire rack where they'll continue to firm up. They'll keep developing structure as they cool, which is how they achieve that chewy center that everyone raves about.
 Save to Pinterest
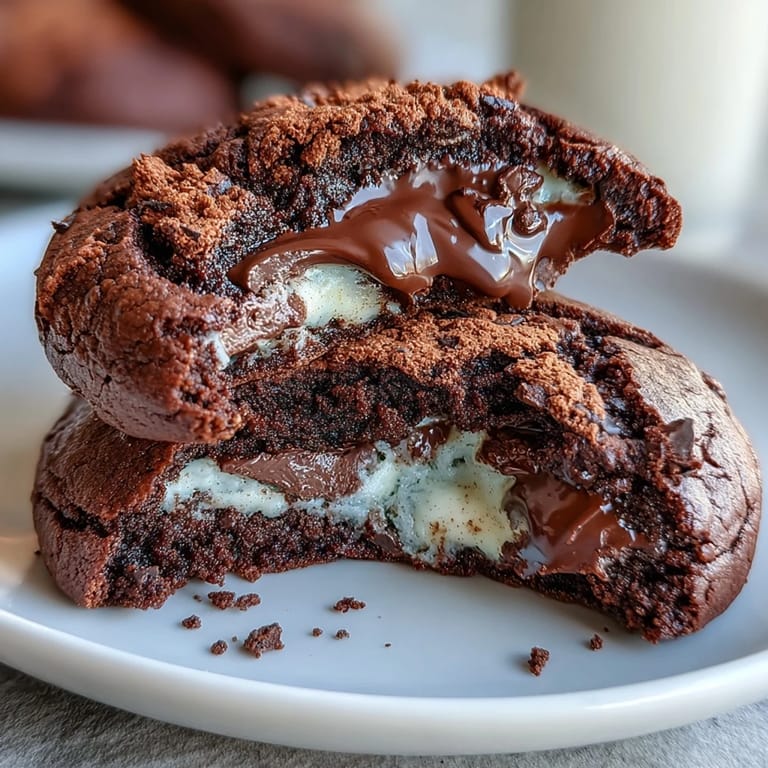
 I remember my mom tasting one of these cookies fresh from the rack, closing her eyes for a moment, and then just saying, 'This is what I imagine expensive chocolate tastes like.' That single moment made all the failed batches and the late-night recipe testing feel worth it. These cookies became the thing I reach for when I want to tell someone they matter without having to find the exact words.
The Science Behind the Chew
The milk in the dough might seem strange at first, but it's actually doing heavy lifting—it adds moisture that keeps the cookies tender even as they cool, while the combination of brown and granulated sugar creates the ideal balance of spread and chew. The Dutch-process cocoa powder is darker and less acidic than natural cocoa, which means the cookies taste more sophisticated and less bitter, almost like they're keeping a delicious secret. High-quality dark chocolate at 70% cocoa ensures the cookies taste grown-up and complex rather than one-note sweet, grounding the entire flavor profile in something real and craveable.
Storage and Keeping Them Fresh
These cookies live beautifully in an airtight container at room temperature for up to five days, though they rarely last that long in my house. If you want to freeze them, place them in a freezer-safe container for up to three months, and you can even reheat them slightly if they've been sitting in the cold and lost their warmth. The milk content means they stay soft longer than most chocolate cookies, which is both a blessing and a curse depending on your willpower.
Variations and Customizations
While this recipe is perfect on its own, I've experimented with different ways to make it feel fresh depending on my mood and what's in the pantry. A tiny pinch of flaky sea salt sprinkled on top before baking adds sophistication and makes the chocolate taste even more intense. You can make these completely dairy-free by using plant-based milk and vegan dark chocolate without changing the technique or the outcome—I've done it and honestly couldn't tell the difference.
- For a hint of spice, add 1/4 teaspoon of cayenne pepper to the dry ingredients to create unexpected depth.
- Swap 1/2 of the white chocolate chips for toasted nuts like hazelnuts or almonds if you want more texture and a roasted flavor.
- Reduce the baking time by one minute if you like them even more fudgy in the absolute center.
 Save to Pinterest
 These Shadow Milk Cookie-inspired dark chocolate vanilla cookies are the kind of recipe that becomes part of your life in small ways, showing up for birthdays and bad days and quiet moments when you just want something beautiful to eat. Once you make them, you'll find yourself reaching for the ingredients again and again, each batch tasting like a conversation with someone who really understands what you needed.
Recipe FAQs
- → What type of chocolate works best for these cookies?
Dark chocolate chunks or chips with at least 70% cocoa content provide a rich, deep flavor that balances the sweetness and complements the vanilla.
- → Can I substitute the almond extract?
Yes, almond extract is optional and can be omitted or replaced with an equal amount of vanilla extract for a simpler flavor profile.
- → How do I achieve the perfect chewy texture?
Mix the dough just until combined, avoid overmixing, and bake until edges are set but centers remain slightly soft and puffy to keep cookies chewy.
- → Is it possible to make these cookies dairy-free?
Yes, substitute the butter with a plant-based alternative and use dairy-free chocolate and milk to maintain richness without dairy.
- → What enhances the chocolate flavor in these cookies?
Sprinkling flaky sea salt on top before baking intensifies the chocolate notes and balances the sweetness beautifully.