 Save to Pinterest
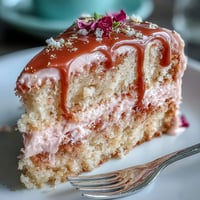
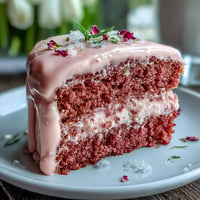
 The scent of rosé wafting through my kitchen as I whipped up this pink velvet cake surprised me with how joyful it made the whole afternoon feel. Soft jazz played in the background, and I found myself humming along as the batter swirled into a dreamy blush. Baking always absorbs me, but there’s something extra magical about blending wine into cake. The color bloomed with just a drop of gel dye, and I remember thinking, this might actually look as enchanting as it tastes. No fancy occasion needed—just a quiet Sunday, hands dusted with flour, and a shimmer of anticipation.
On the day of my cousin's bridal shower, we giggled in the kitchen as we painted the gold drip, steadying each other's hands and sneaking tastes of buttercream when no one was looking. The cake became the centerpiece, not just for its looks but because everyone had shared a laugh while making it. It’s the kind of recipe that makes you want to gather friends around, give in to some glitter, and not take yourself too seriously.
Ingredients
- All-purpose flour: Gives the cake structure—sift it for extra lightness.
- Granulated sugar: The sweet base, and rubbing it with citrus zest adds another layer if you’d like to experiment.
- Baking soda: Ensures a tender crumb; always check it’s fresh.
- Fine salt: Cuts the sweetness and sharpens flavors—don’t skip this even in desserts.
- Cocoa powder (unsweetened): Just a touch gives depth without making the cake chocolatey.
- Vegetable oil: Keeps the crumb moist for days; don’t sub all butter or you’ll get a denser cake.
- Eggs, room temperature: They whip up best for fluffiness and richness.
- Buttermilk, room temperature: Adds tang and makes the cake extra tender; bring it to room temp for even mixing.
- Rosé wine: The unexpected star—choose one you’d like to sip for true flavor payoff.
- Vanilla extract: Rounds out the floral notes with a classic, comforting aroma.
- White vinegar: Reacts with baking soda, ensuring a light, airy sponge.
- Pink or rose gel food coloring: Lets you control the blush hue; use sparingly for elegance.
- Unsalted butter, room temperature: Softens perfectly for silky-smooth buttercream.
- Powdered sugar, sifted: Gives a cloudlike texture; sifting prevents lumps in your frosting.
- Heavy cream: Makes the chocolate drip pourable; stir gently for glossiness.
- White chocolate chips: Melt them slowly to avoid graininess in the drip.
- Edible gold luster dust: Turns ordinary drizzle into glimmering magic–absolutely essential for the wow factor.
- Vodka or clear lemon extract: Helps create a paintable gold finish that dries quickly on the drip.
- Rose petals or berries (optional): For a whimsical, garden-party finish that’s surprisingly easy.
Tired of Takeout? 🥡
Get 10 meals you can make faster than delivery arrives. Seriously.
One email. No spam. Unsubscribe anytime.
Instructions
- Get Your Pans Ready:
- Line three 8-inch pans with parchment and grease them thoroughly; the better the prep, the neater the layers will turn out.
- Mix Your Dry Ingredients:
- Sift flour, sugar, baking soda, salt, and cocoa together; the flour falls like snow and instantly smells like cake is on its way.
- Whisk Wet Ingredients:
- In a separate bowl, combine the oil, eggs, buttermilk, rosé, vanilla, and vinegar until creamy and lovely with little bubbles on top.
- Combine and Color:
- Pour the wet into the dry and gently fold together—hold your breath adding the food coloring, since the transform is joyous but easy to overdo.
- Bake the Cakes:
- Divide the batter, smooth the tops, and bake until the kitchen smells sweet and a tester comes out clean—it’s tempting, but don’t peek too early.
- Cool the Cakes:
- Let them rest in pans briefly before turning onto a rack; resist frosting before the cakes are completely cool or you’ll get a slippery mess.
- Make the Buttercream:
- Beat your butter until pale and billowy, then gradually sift in the sugar; drizzle in rosé and beat until silky and fluffy, tasting as you go.
- Assemble and Frost:
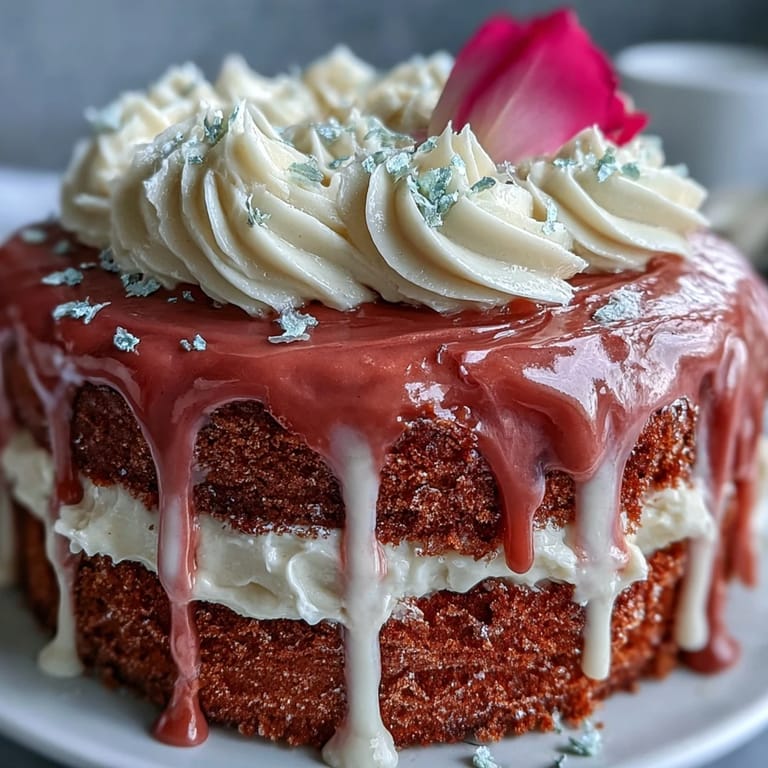
- Level the cakes, stack with buttercream between layers, and spread a gentle crumb coat; once chilled, finish with a final luxuriously smooth layer.
- Create the Gold Drip:
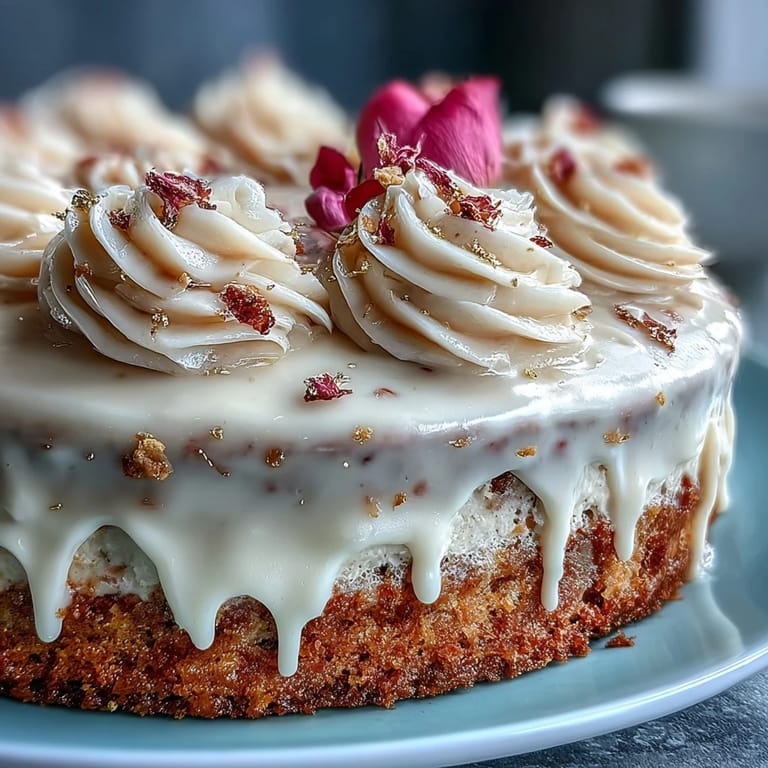
- Melt white chocolate with cream, let it cool slightly, and let it drizzle over the chilled cake’s edge—watching the drips form is quietly satisfying.
- Paint and Decorate:
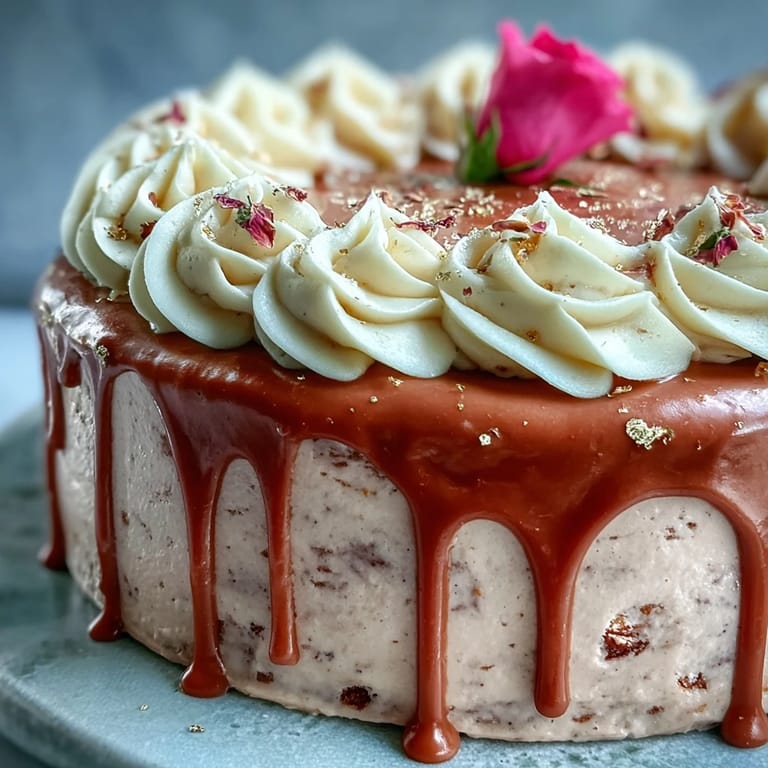
- Mix gold luster with vodka or lemon extract, and gently paint the set drips; scatter rose petals or berries for extra romance, stepping back to admire your handiwork.
 Save to Pinterest
  Save to Pinterest
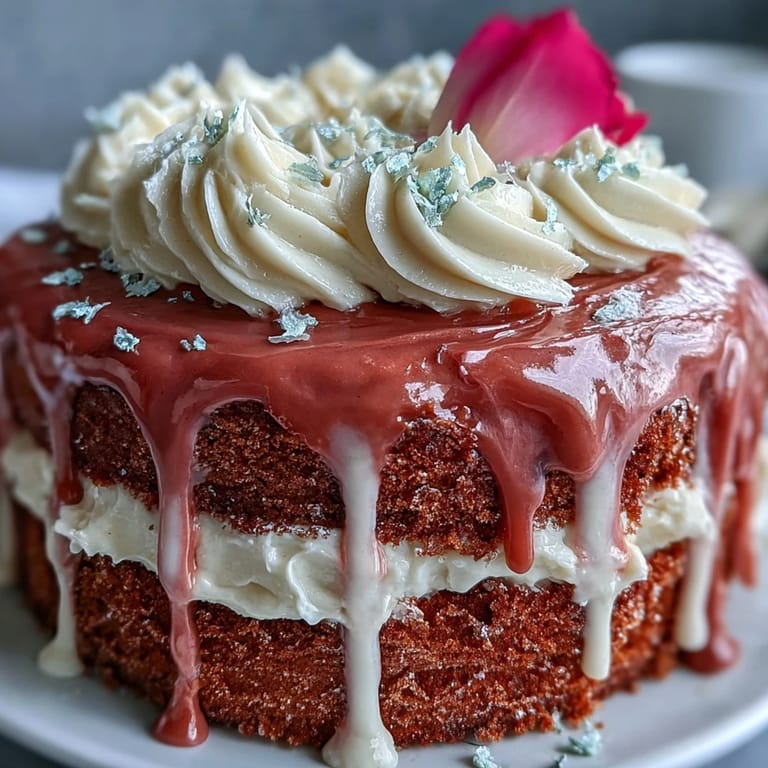
 The first time I brought out this cake, the whole table went silent just long enough for everyone to gather round, phones in hand, gasping before the photo-frenzy began. That simple joy made all the careful steps—right down to the edible gold paint—completely worth it.
How to Choose the Right Rosé
I once reached for a syrupy sweet rosé on a whim and the cake emerged tasting more like a fruit punch than a classic velvet. Dry or sparkling rosé gives just the right elegance and subtlety to the crumb, so don’t hesitate to splurge an extra dollar or two. If you’re unsure, let your nose guide you—the more floral or mineral the aroma, the more it’ll shine through once baked.
Decorating Without Stress
The first drip I attempted ran all the way down to the cake board, and I had to laugh. Start slow with the drip—use a spoon and take your time; those gold streaks can be painted on once the chocolate cools and sets. Embrace imperfection: a few drips here and there look fabulously artistic on a special cake.
Making It Ahead for Big Events
I baked the layers a night in advance for my last bridal shower and was relieved at how moist and perfect they stayed wrapped on the counter. Assembly in the morning was a calm, meditative hour of stacking and smoothing buttercream, with less pressure and more time for decorating fun. Letting the cake sit overnight in the fridge helps the flavors meld and the frosting firm up.
- Bring the cake to room temperature for the most tender bite.
- Store any leftovers tightly covered in the fridge; it stays beautiful for two days.
- Edible decorations hold best when applied just before serving.
 Save to Pinterest
  Save to Pinterest
 I hope this cake brings as much sparkle to your celebrations as it did to ours—from the first swirl of batter to the last golden touch, it really is meant to be shared and loved.
Recipe FAQs
- → Can I use sparkling rosé or should it be still?
Either works; a dry or lightly sparkling rosé adds subtle floral and fruit notes. Avoid overly sweet bottles that may make the frosting too sweet or alter balance.
- → How do I keep the buttercream from becoming too runny?
Beat butter until light, add powdered sugar gradually, and chill between layers. Reduce rosé in small increments until you reach a spreadable but stable consistency.
- → What’s the best way to get even cake layers?
Use a kitchen scale to divide batter evenly between pans, tap pans to release air, and bake until a toothpick comes out clean. Cool 10 minutes in pan, then level with a serrated knife if needed.
- → Is the gold drip safe to eat and how is it made?
Use edible luster dust mixed with a food-safe vodka or clear extract to paint; never use non-edible metallics. The drip base is cooled white chocolate mixed with cream to a pourable consistency before painting.
- → Can components be prepared ahead of time?
Bake layers a day ahead and wrap tightly in plastic. Buttercream can be refrigerated; assemble when cold and allow the finished cake to come to room temperature before serving for best texture.
- → Any good substitutions for dietary restrictions?
For dairy-free, use plant-based butter and cream alternatives and choose dairy-free white chocolate. Gluten-free flour blends can be used, though texture and rise may vary.